

In my last article, I described how to calibrate a map in Visio ( see http://blog.bvisual.net/2015/05/26/calibrating-a-map-in-visio/ ), and in this article I use a calibrated map to distribute data points from a linked data source automatically.
For this example, I drew a simple shape at the size that I want, but you could add this smartness to any shape. All you need is an external data recordset that contains the Latitude and Longitude values that need to be linked to each data point.
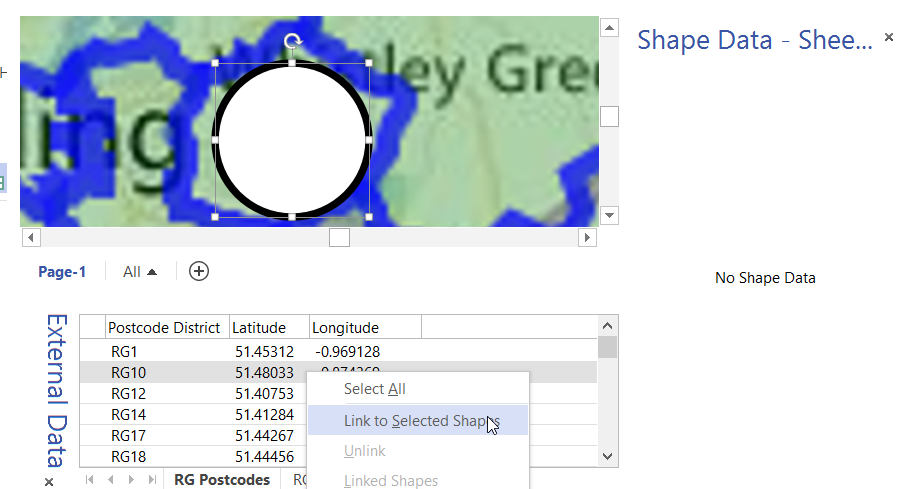
I linked one sample row from the External Data window to the shape because this will automatically create some Shape Data rows.
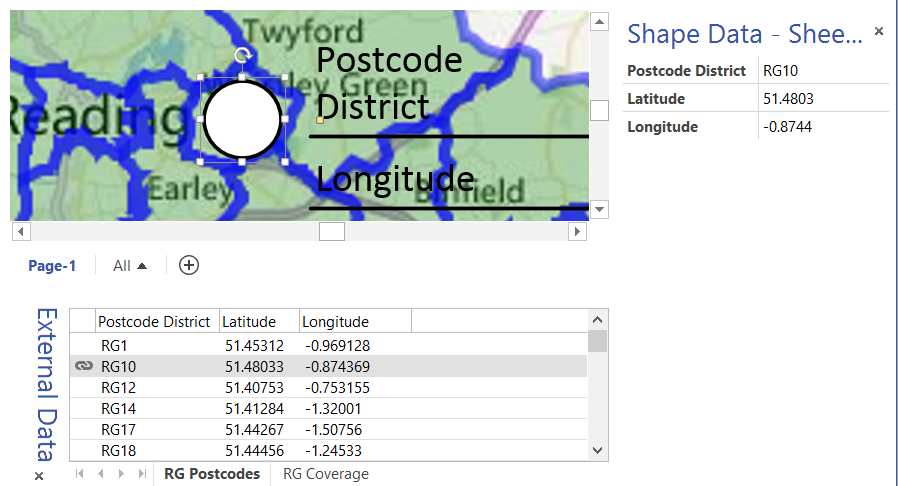
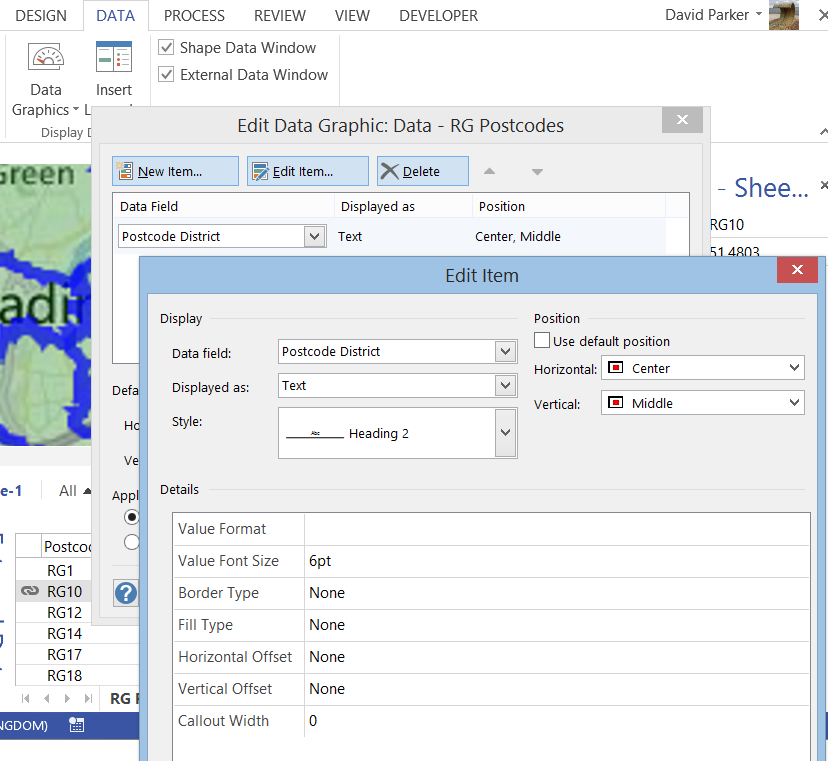
It will usually automatically add some default data graphic text which can be edited to display whatever you want. I just want to see the Postcode District in this example.
So, my beautiful complex shape is almost ready….
All I need to do is add one User-defined cell, that I have called LLTrigger, so that the PinX and PinY of the shape can be set according to the Latitude and Longitude values.
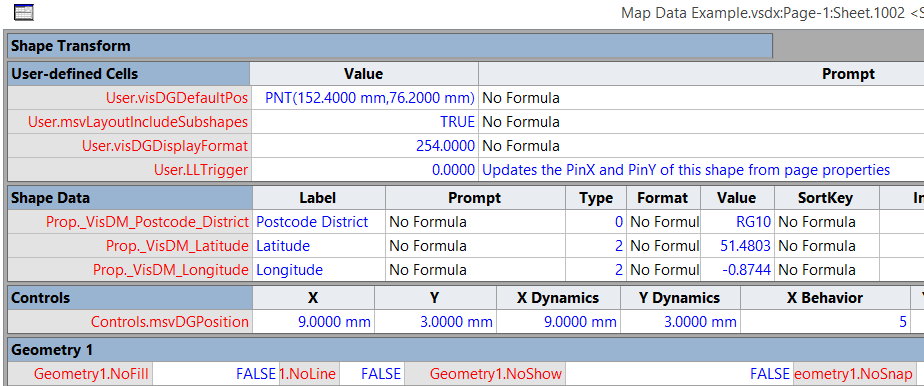
The Value cell contains the following formula provided that the LL Marker shapes from the previous article are present on the page:
| Cell Name | Formula |
| User.LLTrigger | =IF(AND(NOT(Prop._VisDM_Latitude=0), NOT(Prop._VisDM_Longitude)=0), SETF(GetRef(PinX),ThePage!User.LLPosition1X- ((ThePage!User.LLPosition1Lon-Prop._VisDM_Longitude)/ (ThePage!User.LLPosition1Lon-ThePage!User.LLPosition2Lon))* (ThePage!User.LLPosition1X-ThePage!User.LLPosition2X))+ SETF(GetRef(PinY),ThePage!User.LLPosition1Y- ((ThePage!User.LLPosition1Lat-Prop._VisDM_Latitude)/ (ThePage!User.LLPosition1Lat-ThePage!User.LLPosition2Lat))* (ThePage!User.LLPosition1Y-ThePage!User.LLPosition2Y)),0) |
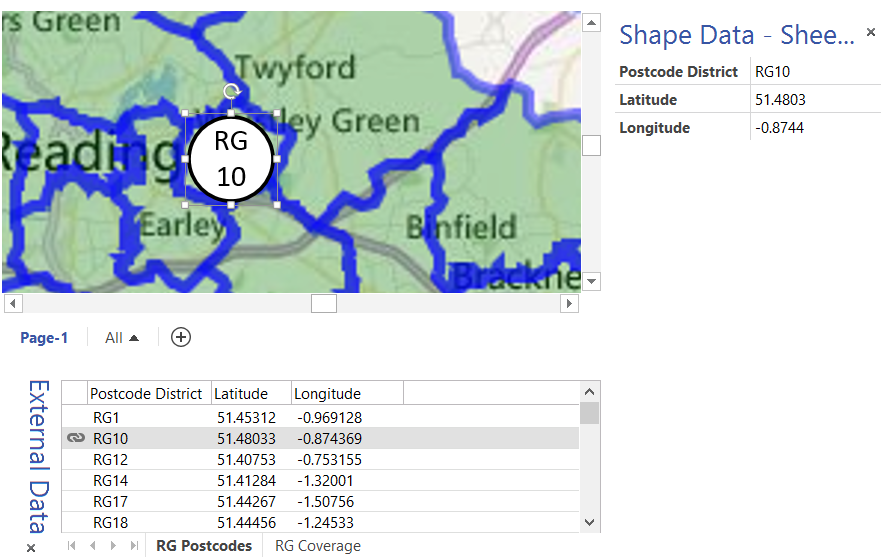
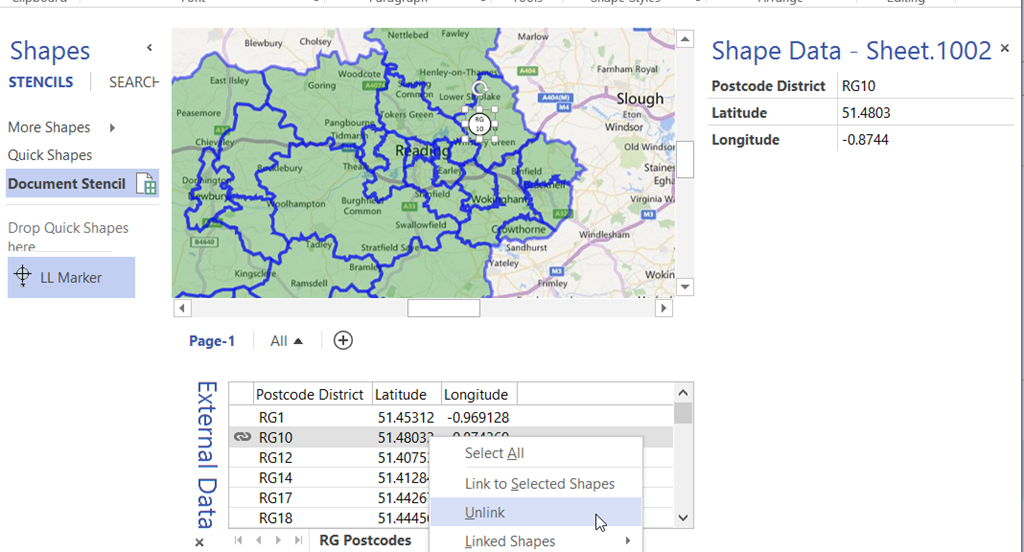
As soon as the trigger formula is entered, the shape will automatically re-position itself at the correct location.
Also, if I want to have a hyperlink on each shape that opens Bing Maps at the precise co-ordinate, then I can add a new Hyperlink row as follows (see previous article):

| Hyperlink.BingMaps.Address | =”http://www.bing.com/maps/” |
| Hyperlink.BingMap.ExtraInfo | =”lvl=11&sp=Point.”&Prop._VisDM_Latitude&”_”&Prop._VisDM_Longitude&”_”&NAME() |
Then I unlinked the shape from the row in the External Data window, and dragged the shape onto the Document Stencil, and renamed the master as Data Point.

Then, with the Data Point master selected in the Document Stencil, I can select as many rows as I wan to in the External Data window, and drag and drop them onto the map. All of the rows will be added as new shapes in the correct location on the map!
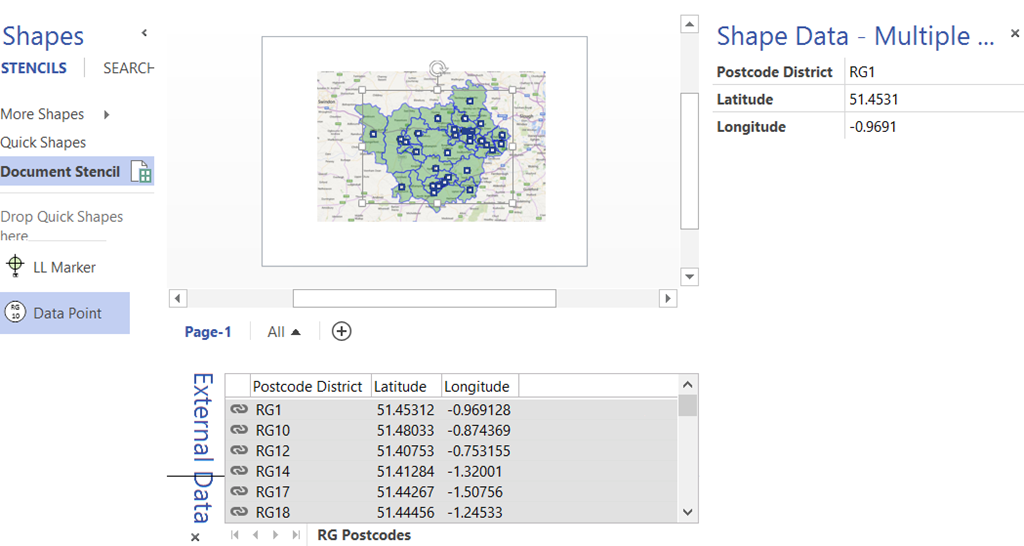
Every Data Point shape is placed according to its Latitude and Longitude values:
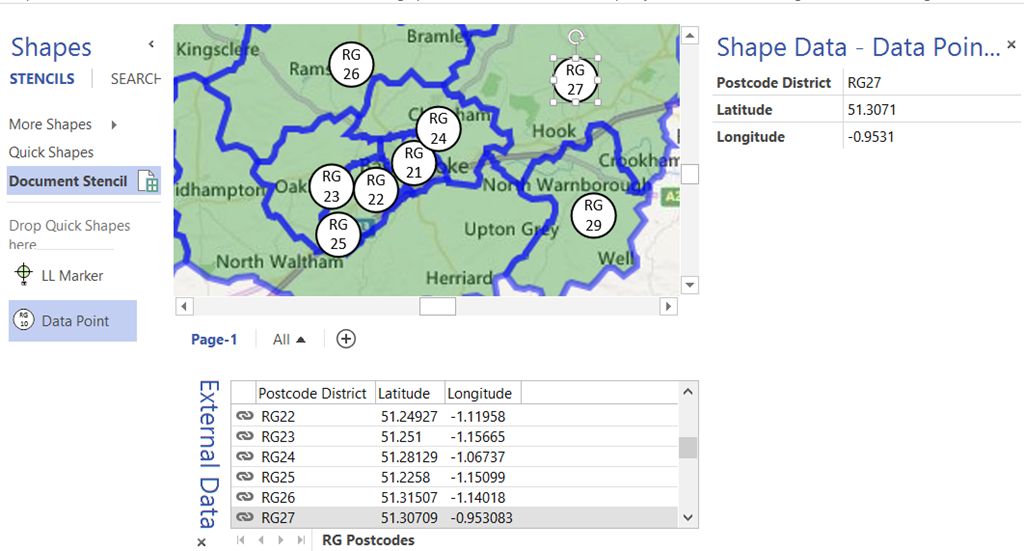
I called the master Data Point because it could have as many other Shape Data rows on them, and could be displaying Data Graphic Icon Sets, Data Bars, Text Callouts and Color By Value … but that is for another day!
Visio 2013 sample : http://1drv.ms/1SBGWDw
Visio 2003-10 sample : http://1drv.ms/1Fa9U35
So, I can link a row from multiple External Data recordsets to these shapes, and edit the Data Graphics to display Post town using Color by Value, for example:
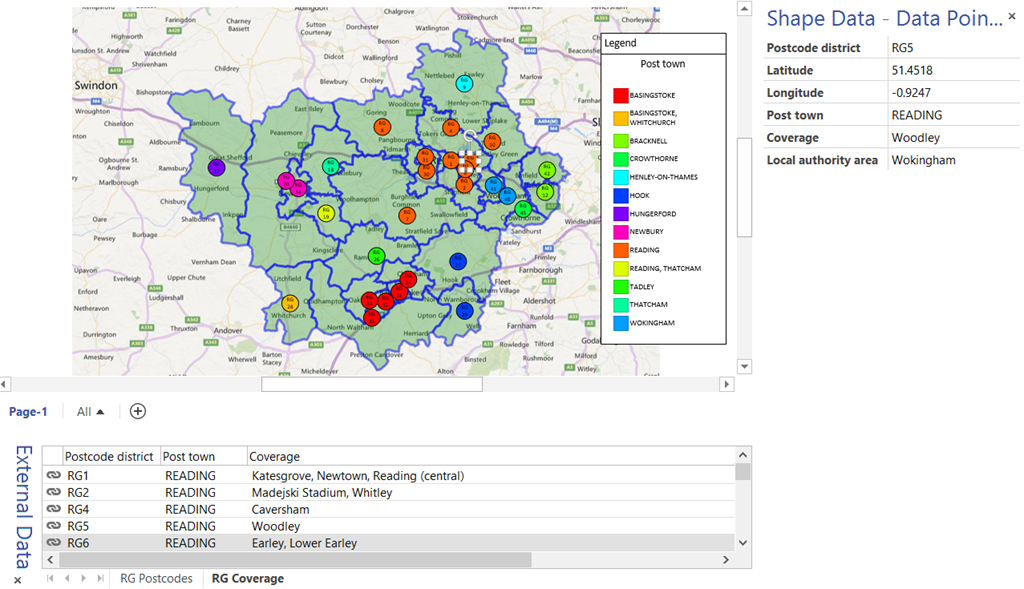
Visio 2013 example : http://1drv.ms/1Fiquis
Visio 2003-10 sample : http://1drv.ms/1Fiquis