

A recent question in the Visio 2010 Forums asked how to create a Complicated Off Page Reference; one that displays the page name and grid reference of the target shape. The questioner assumed that a macro would be needed, so I couldn’t resist seeing how much could be done without using macros.
This particular user wants his page to be divided into ten rows from 0 to 9, and eight columns, from A to H. In his case the rows are numbered from top to bottom, and the columns are from left to right. I decided to allow from 1 to 26 (the number of letters in the alphabet) rows and columns in my solution, and to allow for the row and column header text to be customizable.
My starting point is the useful Off-page reference master on the Basic Flowcharts Shapes stencil. This provides the ability to utilize a standard Visio add-on, OPC, so that two shapes on different pages can have reciprocal links.

The functionality of this shape is documented elsewhere ( see http://blogs.msdn.com/b/visio/archive/2006/06/27/647570.aspx for example), so I will concentrate on the modifications that I want to add.
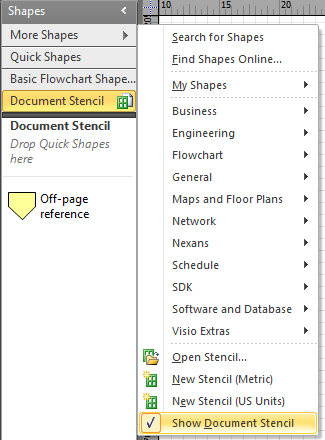
Open the Basic Flowchart Shapes stencil, and drag drop the Off-page reference shape on to your page. This will cause the add-on to open a dialog, so simply cancel that and then delete the shape from the page. Then show the Document Stencil, and you should see that there is an Off-page reference shape there.
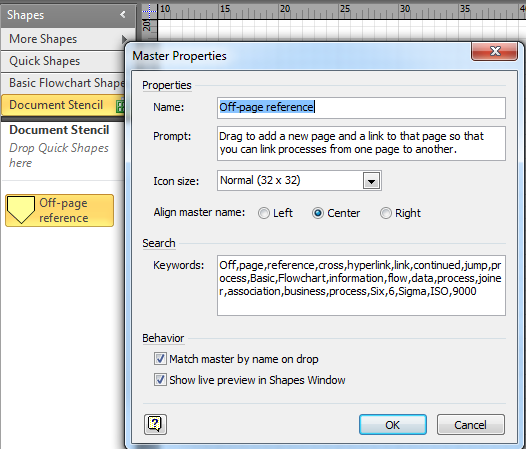
Edit the Master Properties (available from it’s right mouse menu), and tick Match master by name on drop. This will ensure that our modified master will be used, even if a user drags the original from the Basic Flowchart Shapes stencil.
I then edited the master shape, and changed the fill color, and added six Shape Data rows to the PAGE of the master.

I have tabulated the important cell values below:
| Row Name | Label | Type | Format | Value |
| NumberOfRows | Number of Rows | 1 | =”1;2;3;4;5;6;7;8;9;10;11;12;13;14;15;16;17;18;19;20;21;22;23;24;25;26″ | INDEX(9,Prop.NumberOfRows.Format) |
| NumberOfColumns | Number of Columns | 1 | =”1;2;3;4;5;6;7;8;9;10;11;12;13;14;15;16;17;18;19;20;21;22;23;24;25;26″ | INDEX(7,Prop.NumberOfColumns.Format) |
| RowHeaders | Row Headers | 0 | =”0;1;2;3;4;5;6;7;8;9;10;11;12;13;14;15;16;17;18;19;20;21;22;23;24;25″ | |
| ColumnHeaders | Column Headers | 0 | =”A;B;C;D;E;F;G;H;I;J;K;L;M;N;O;P;Q;R;S;T;U;V;W;X;Y;Z” | |
| BottomToTop | Bottom to Top | 3 | FALSE | |
| LeftToRight | Left to Right | 3 | TRUE |
One useful feature of Visio is that it can transfer master PAGE properties to an actual page when the master shape is dropped on the page. The only requirement is that the shape cells must have a reference to the page cells that you want to copy. Fortunately, I want to refer to each of these properties from two new User-defined Cells (Row and Column) in the Off-page reference shape itself:
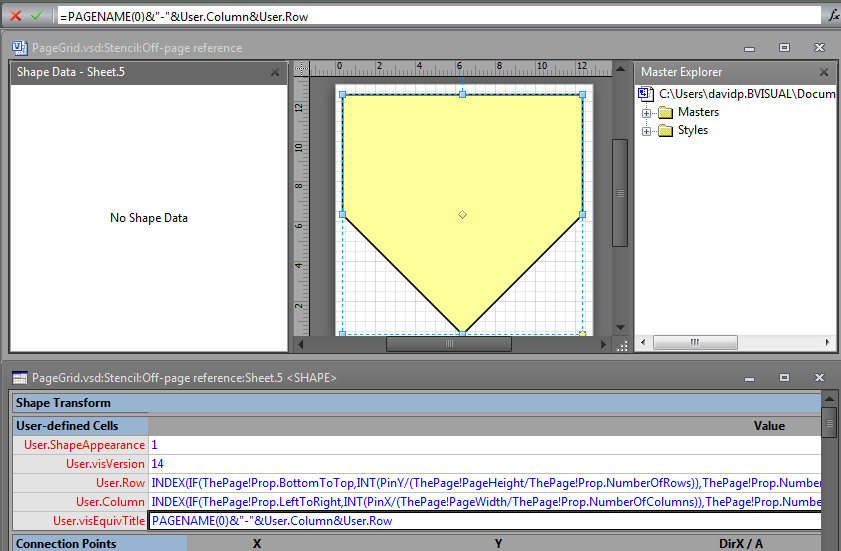
It is a bit difficult to read the formulae above, so I have reproduced them below:
User.Row
=INDEX(IF(ThePage!Prop.BottomToTop,INT(PinY/(ThePage!PageHeight/ThePage!Prop.NumberOfRows)),ThePage!Prop.NumberOfRows-1-INT(PinY/(ThePage!PageHeight/ThePage!Prop.NumberOfRows))),ThePage!Prop.RowHeaders)
User.Column
=INDEX(IF(ThePage!Prop.LeftToRight,INT(PinX/(ThePage!PageWidth/ThePage!Prop.NumberOfColumns)),ThePage!Prop.NumberOfColumns-1-INT(PinX/(ThePage!PageWidth/ThePage!Prop.NumberOfColumns))),ThePage!Prop.ColumnHeaders)
These formulae will get the corresponding row and column labels for the X and Y position of the shape on the page, and provides alternatives for top to bottom or right to left.
I also added a third, visEquivTitle, so that it will make it simpler to get the label text later:
=PAGENAME(0)&”-“&User.Column&User.Row
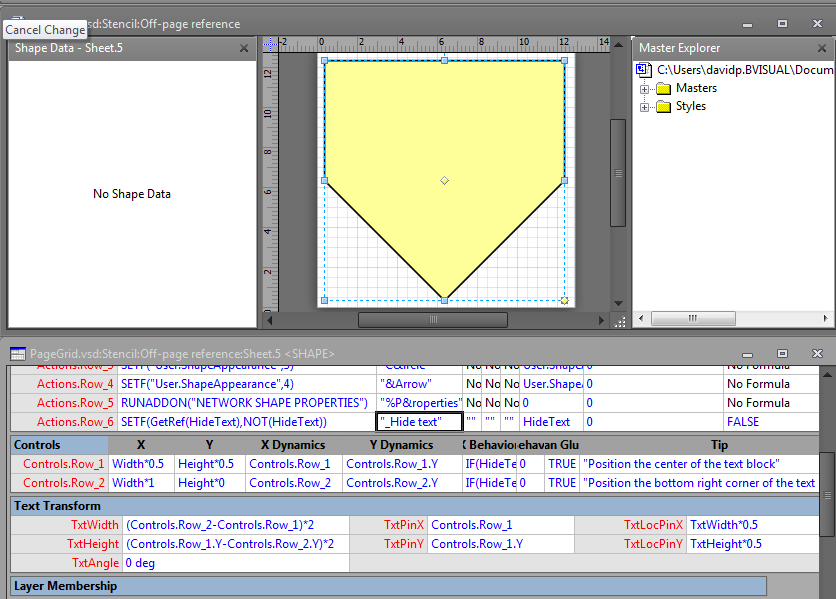
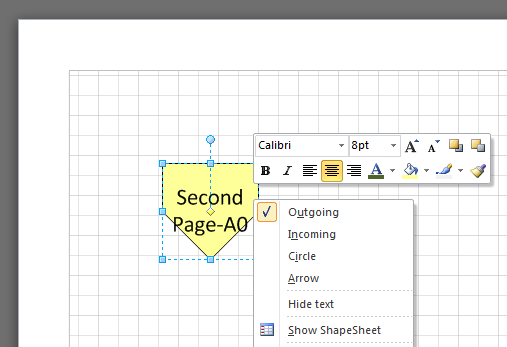
Lastly, I added an Action row to toggle the visibility of the shape’s text, and a couple of Controls to allow the user to move the center of the text block, and to change it’s width. Note that the first Control is in the center of the shape, and the second is at the bottom right corner. I then modified the formulae of the TxtWidth, TxtHeight, TxtPinX and TxtPinY cells to reference these Controls.:
The shape is now ready for testing!
I have three pages in my document, imaginatively named First Page, Second Page and Third Page. Simply drag and drop the Off-page reference shape on a page and you will be prompted to select a new or existing page. Ensure that you have got the Keep shape text synchronized option ticked.

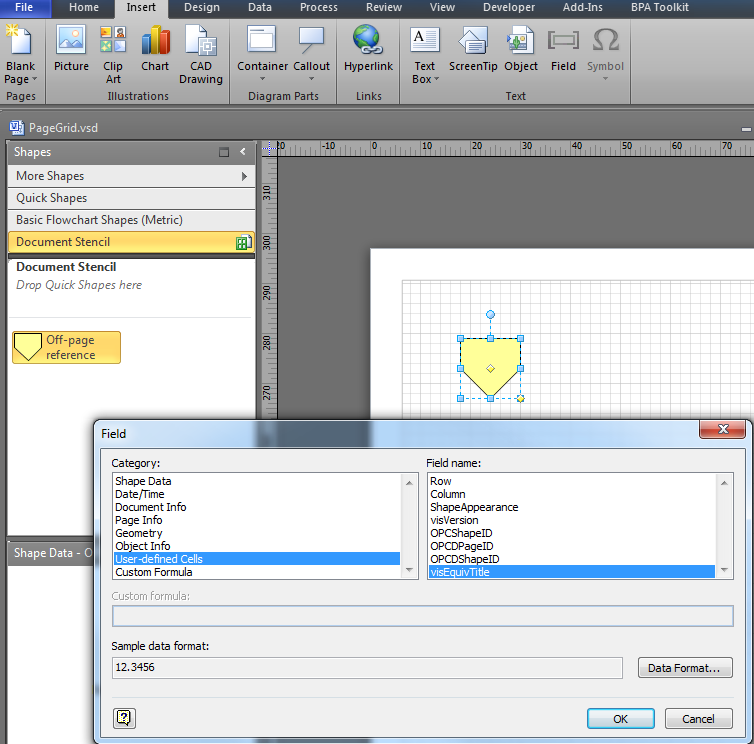
The document will turn to the selected page and a copy of the shape will be added to the top left corner. Select Insert \ Field \ User-defined Cells \ visEquivTitle:
You will then see that the shape is labelled with the page name and grid reference:
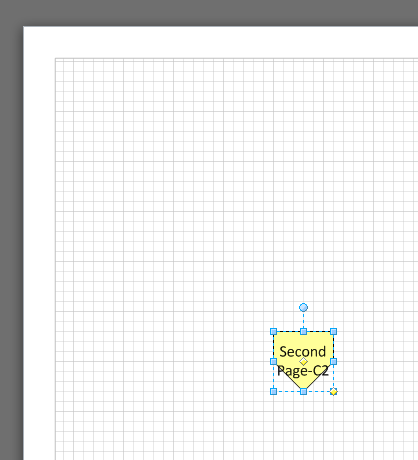
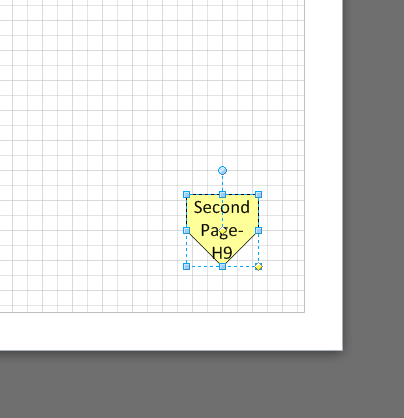
When you move the shape around, the grid reference will automatically updated itself:
Moreover, the original shape that you dropped on the first page will also be automatically updated with the grid reference of its twin shape on the second page!

Of course, you can have as many of these shapes as you like, and you hide the text on the twin shapes, if you want to.
One enhancement could be allowing for page margins in the grid, but that will have to be for another day….